We’ve been asked often how we design the installation of a wall-mounted Pettibon System® Repetitive Cervical Traction device in a Chiropractic Therapy space – so thought we should do a blog on it! This is from a designer’s point of view, looking at what is required of the space planning, construction, and finishes. We hope this will give you some insight into your office space.
First things first: Planning for the Cervical Traction device correctly
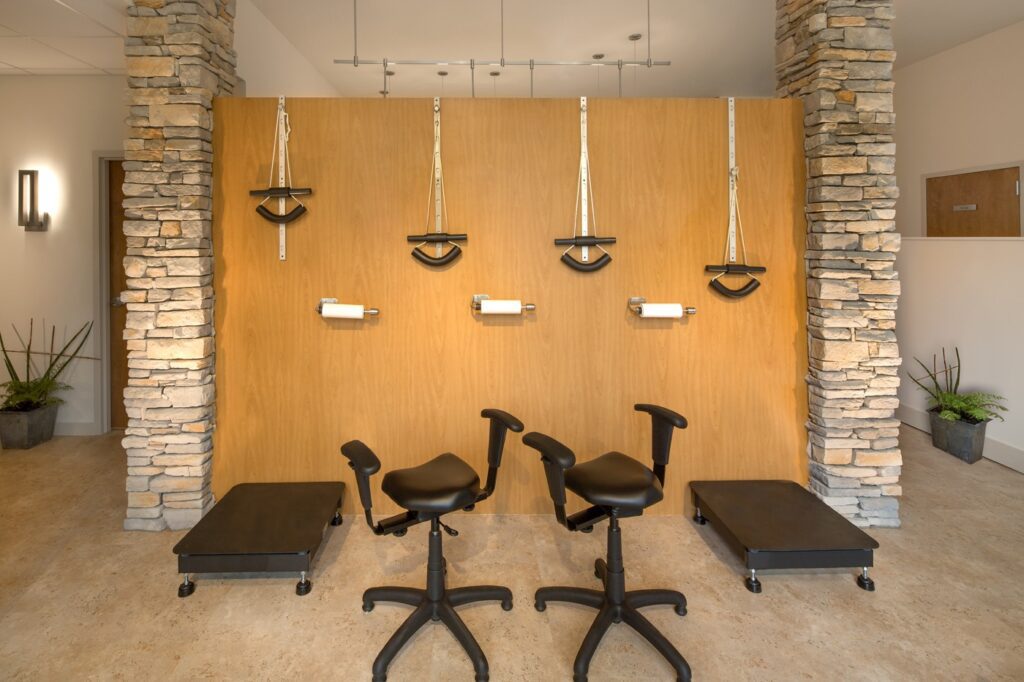
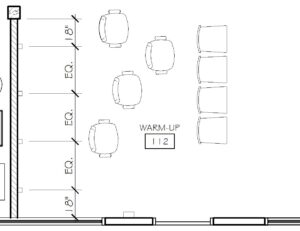
To start, let’s get into a bit of space planning. The Traction units need to be spaced apart correctly so that your patients will be able to use them comfortably without bumping into one another. In the years that we’ve been working with Chiropractors, we have found that having 18″ on each side of the unit (measuring from the center of the Traction mount) is ideal. As a result, this gives your patients 36″ of the total width of standing space to use the Traction Units.
As far as height, install the wall mounting hardware so that the top is at 7′-0″ minimum to 8′-0″ maximum from the finished floor. If using a vibration plate under the traction, 8′-0″ is best.
Next: Ensure the cervical traction devices will be structurally supported
What does this mean? Well, as the Cervical Traction devices will be used by patients that will exert a portion of their weight on each traction device. Moreover, the device itself needs to be secured into the wall in such a way that when force is exerted, the various screws used for the installation will be able to hold into the substrate straightaway.
In truth, if you are building out a new office or renovating an existing office space, and have the opportunity to structurally get into the wall itself, we recommend adding internal blocking underneath the gypsum board for support. This can be as simple as adding a sheet of plywood under the gypsum board.
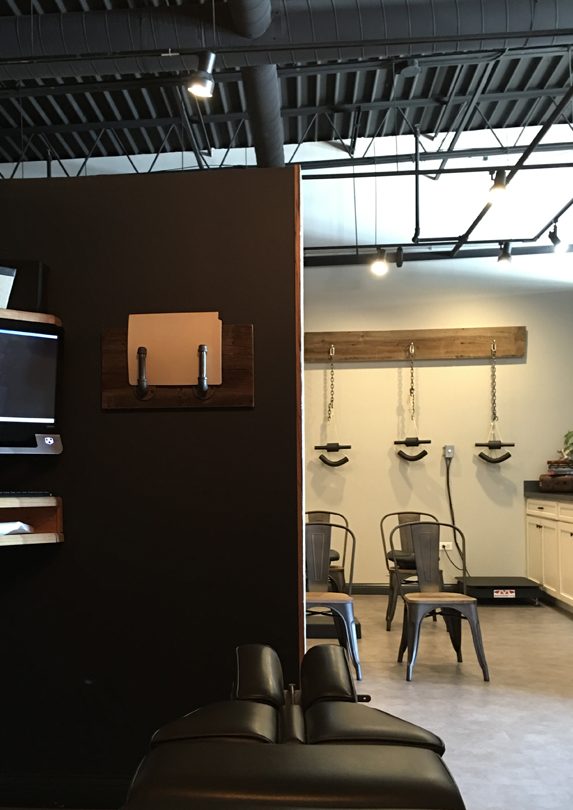
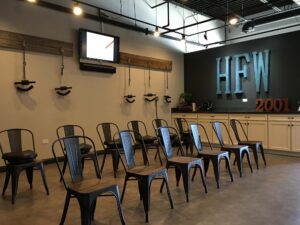
If you are installing the Pettibon Cervical Traction device on an existing wall, and are not constructing the wall, an easy way to add the blocking is to install the plywood on the outside/face of the gypsum board. Even if this isn’t the “prettiest” way to go about it, it is effective if you are not renovating your office space just yet. To make it look the best, either paint it the same as the wall color or design it so that is a decor item that compliments the space as can be seen below.
The height of the blocking is determined by the method and height you prefer for hanging the traction devices.
We recommend using the Pettibon 2-Piece wall mount traction support accessory as it has a nice, clean, and finished look to it. Additionally, we’ve personally experienced that it is easier to adjust the heights with the “knob” instead of using hooks or the carabineer.
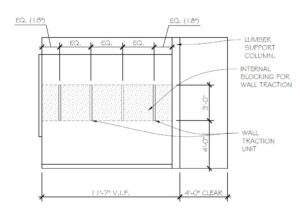
When choosing to use a Pettibon Wall Mount that is 36″high, look to have the plywood mounted so that the plywood sheet itself is 3′-0″ high and runs the full length of the wall/area that will have Traction Devices installed. It should also be mounted 4′-0″ to 5′-0″ above the floor to the bottom of the plywood (depending upon your final height). Consequently, this will ensure that wherever you install the Traction Devices, you will be drilling into the plywood, and the unit should be very secure. For instance, here is an elevation showing the location of the internal blocking within the drywall wall (see the shaded area).
Third: Keeping the wall clean
Okay, here is a detail that can often get overlooked. When a patient uses the Pettibon Cervical Traction device, they will rub the wall below in the process of performing their exercise. If this wall is just painted drywall (especially low-quality paint) after a short time, the wall can end up being scratched, dirty, and looking rather dingy, which is not great for first impressions.
The greatest way of addressing this is to cover the drywall with plastic laminate. This is a great option because most laminates are “scrubbable” and very durable. Just a wet rag and some soap will get off the dirt and grime. But this is the most expensive option.
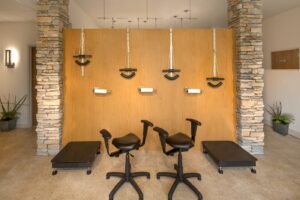
A less expensive way, but still looks nice is to paint the wall with a high-quality paint in a semi-gloss paint finish. While the semi-gloss paint isn’t as durable as the plastic laminate, you can lightly scrub it to keep it clean, unlike a matte paint finish. And, be prepared to repaint the wall often.
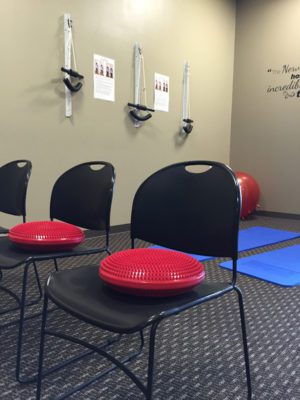
If you do not want to go about it with either of the above options, you can install a clear acrylic panel underneath the Traction Mount to the floor. This will be a clear protection on the wall, though patients will notice the change in materials.
Final Thoughts
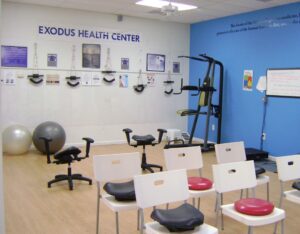
We appreciate the assistance of The Pettibon System® and The Pettibon Institute. The tools/products that are found in our offices are:
- Repetitive Cervical Traction
- 2-Piece Traction Wall Mount
- Traction Wall Mount T-Bar
- Therapeutic Wobble Chair
- Portable Wobble Chairs
Please check out their website for the entire system of spinal rehabilitation care that includes many tools/products.
CrossField’s team hopes this information has helped you! And, please contact us to schedule your Complimentary Consultation and see if we can help you with your office space.
